Handmade Rakhi Making Ideas at Home
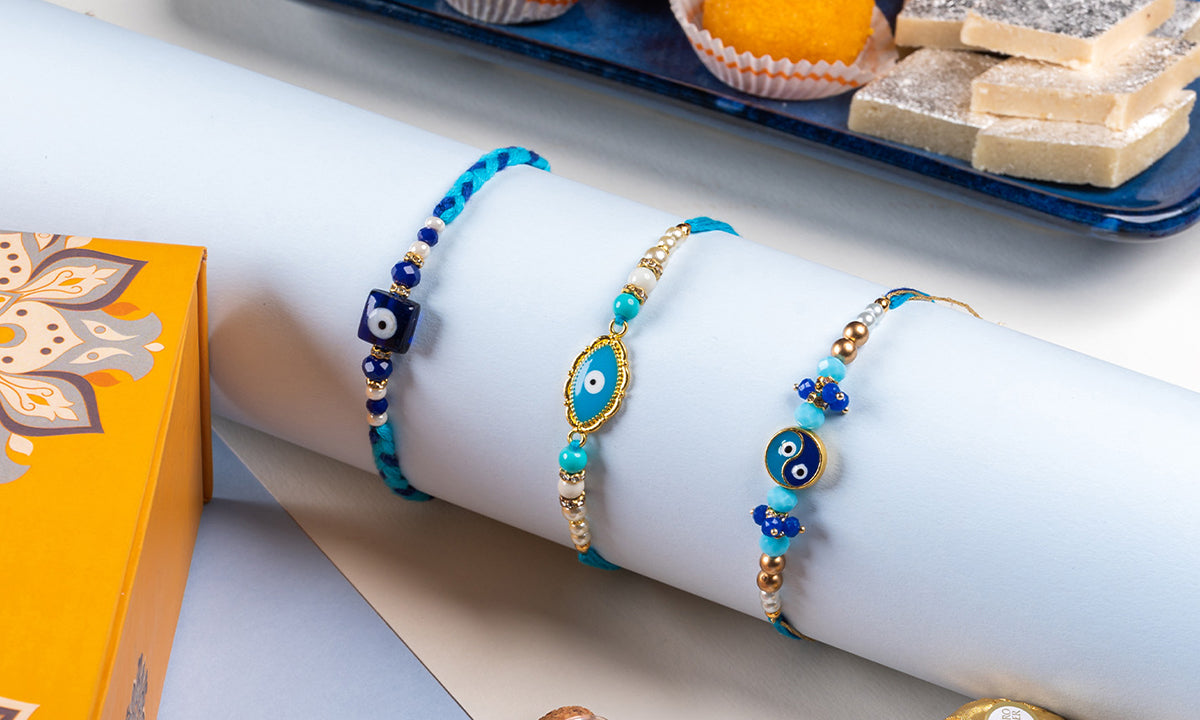
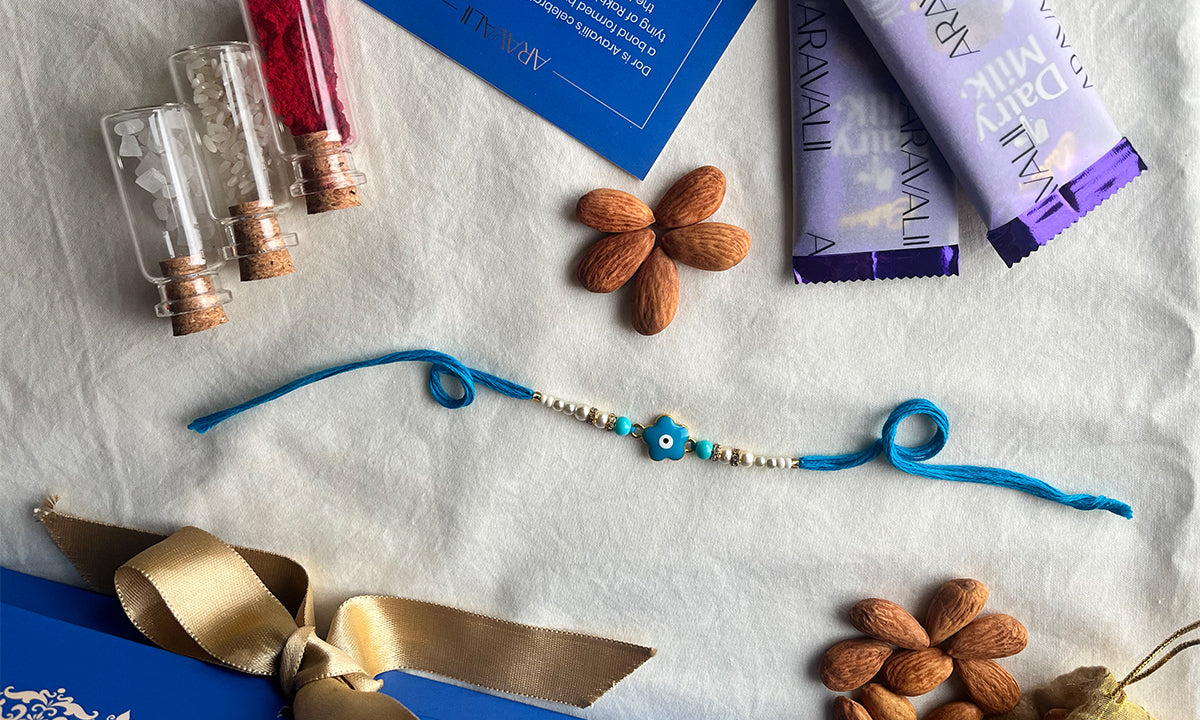
Raksha Bandhan is a cherished festival celebrating the special bond between siblings. One of the most heartfelt ways to show your love and appreciation for your brother is by making a handmade rakhi. Creating a rakhi at home adds a personal touch and makes the celebration even more special. Here are some creative and simple handmade rakhi making ideas that you can try at home.
1. Traditional Thread Rakhi
Materials Needed:
- Colorful silk threads
- Cotton threads
- Scissors
- Beads and sequins
- Fabric glue
Steps:
- Prepare the Threads: Cut multiple strands of colorful silk threads, each about 12 inches long. Align them together and fold them in half.
- Tie a Knot: At the folded end, tie a tight knot to secure the threads.
- Braid the Threads: Divide the threads into three sections and start braiding them together. You can add beads or sequins at intervals for decoration.
- Finish the Ends: Once you've braided to the desired length, tie another knot at the end. Trim any excess threads.
- Add a Centerpiece: Glue a decorative bead or a sequin at the center of the rakhi to give it a traditional look.
2. Beaded Rakhi
Materials Needed:
- Assorted beads (in various colors and sizes)
- Elastic cord or thread
- Scissors
- Needle (optional)
Steps:
- Prepare the Cord: Cut a piece of elastic cord or thread about 10 inches long.
- String the Beads: Start stringing beads onto the cord. You can create patterns or use a single color scheme.
- Create a Design: Leave some space in the middle for a larger bead or a decorative piece. This will be the centerpiece of your rakhi.
- Secure the Ends: Once you’ve strung enough beads, tie knots at both ends of the cord to secure them. You can use a needle to make the stringing process easier if needed.
- Add the Centerpiece: Place a larger bead or a special charm in the center, securing it with knots on either side to keep it in place.
3. Felt Flower Rakhi
Materials Needed:
- Felt fabric (in various colors)
- Scissors
- Needle and thread
- Beads
- Glue
- Ribbon or thread
Steps:
- Cut the Felt: Cut out flower shapes from the felt fabric. You can use multiple layers of different colors to create a vibrant flower.
- Assemble the Flower: Layer the felt flower pieces together and sew or glue them in the center.
- Add Beads: Sew or glue a bead or button in the middle of the flower to give it a finished look.
- Attach the Ribbon: Cut a piece of ribbon or thread and glue it to the back of the felt flower. This will be used to tie the rakhi around the wrist.
- Finishing Touches: Trim any excess ribbon and make sure all parts are securely attached.
4. Quilling Paper Rakhi
Materials Needed:
- Quilling paper strips
- Quilling tool
- Glue
- Beads
- Scissors
- Thread or ribbon
Steps:
- Roll the Quilling Paper: Use the quilling tool to roll paper strips into tight coils. Create various shapes like circles, teardrops, and petals.
- Create a Design: Arrange the quilled shapes into a pattern, such as a flower or a mandala.
- Glue the Shapes: Glue the quilled shapes onto a piece of paper or a felt circle to form the rakhi’s centerpiece.
- Attach the Thread: Glue a piece of thread or ribbon to the back of the centerpiece.
- Add Beads: Decorate the rakhi with small beads for added detail and elegance.
5. Eco-Friendly Rakhi
Materials Needed:
- Jute or hemp twine
- Natural beads or seeds
- Fabric glue
- Scissors
Steps:
- Cut the Twine: Cut a piece of jute or hemp twine about 10 inches long.
- String the Beads: String natural beads or seeds onto the twine, leaving some space in the middle for decoration.
- Create a Knot: Tie a knot at each end of the bead arrangement to keep them in place.
- Decorate the Center: Use fabric glue to attach a small natural element, like a dried flower or a seed pod, to the center of the rakhi.
- Finish the Ends: Trim any excess twine and ensure all parts are securely attached.
Conclusion
Creating a handmade rakhi is a beautiful way to express your love and care for your brother. These simple yet creative ideas can be easily made at home with basic materials. Whether you opt for traditional designs or experiment with modern twists, your handmade rakhi will undoubtedly make this Raksha Bandhan a memorable one. So, gather your materials, unleash your creativity, and make a rakhi that your brother will cherish forever.


